Saturday, June 11, 2011

Foodie.... Saturday??

So I completely forgot about Foodie Friday yesterday, so I'm going to go ahead and make up for that today. My family was in town this week, and were leaving yesterday, so my entire day was geared towards meeting up with them before they flew out, and as a result, Foodie Friday didn't happen. My sincerest apologies!

Anyway, this week I had planned on linking to other bakers sites for my Foodie Friday tutorial. I'm not sure if any of you remember, but I have a few favorite food blogs that I like to frequent - The Pioneer Woman has already been posted about all over this blog - and in the past couple of weeks I have been on a cookie frenzy, testing out cookies from two of these sites. What I have discovered is some truly divine (and guilty) pleasures! I would blog about them myself, but these women do such a wonderful job at it, and since these are their recipes, I'll just link you to them!


First off, back on the week that I made my A-Mazing Chocolate Chip cookies, I also made Oatmeal Raisin Cookies for my husband, since they are his favorite. I'm a bit picky when it comes to oatmeal raisin cookies, and I found a wonderful recipe on the Smitten Kitchen blog. If you'd like to test out this recipe for yourself, you can find it HERE! From my personal experience, I had better result with the cookies when I didn't chill them first, but you can try both ways if you'd like.


My second recipe is for the best Sugar Cookies my husband and I have ever eaten... I mean, seriously, these things are dangerously good! The recipe comes from none other than the extremely talented I Am Baker, and she uses a secret ingredient to her sugar cookies that just puts them over the edge... almond extract. I can't even begin to explain to you what this does to the taste of these cookies, you're just going to have to trust me, and try this recipe out.... right now! My only comment on this recipe is for you to be sure to not over cook these cookies. Trust in her cook time, and they will be wonderful. They may look under done, but when they cool, they are perfectly chewy... so trust in what she says! You can find her sugar cookie recipe HERE!


So there you have it... two more AMAZING cookie recipes, that have found a permanent residence in my recipe box, and I am sure will find their place in yours as well. If you happen to make these for yourself, I would love to hear about how you found them to be for you and your family.


Until then....


Happy Baking! Happy Eating!

Tuesday, June 7, 2011

Get Covered!

Todays Tutorial Tuesday, is going to be one of those where I just link you oiver to someone else's cool idea. I know... it's kinda lame, but hey, this tutorial changed my life this week. You see, everything I have in my sewing room, I basically "inherited" from my mother-in-law... including my ironing board... which has never had a cover. So for the past 2 years I've been ironing on a board without a cover, and for every day of those last two years, I've been telling myself that I have to get a dang cover for it. Finally, after all this time, I sat down a couple of days ago and began to google (my favorite thing to do!), and I found a pretty easy ironing board cover tutorial, that ANYONE can whip up in less than an hour. How awesome is that? See how this could change a girls life? No? Ok... well maybe I just get overly excited about things, but after 2 years of not being covered, all that is about to change. Additionally, I just moved and re-decorated my entire craftroom, so I'm going to make an ironing board cover to match... that can make a girl excited in and of itself!

Ok... enough talking, lets get down to sewing! If you would like to check out this quick and easy ironing board tutorial, click HERE.


Happy Sewing!

Friday, June 3, 2011

A-Mazing Chocolate Chip Cookies!

I LOVE chocolate chip cookies, but I've always been on the hunt for the perect one... and I think I finally found it. Here's my feeling on the whole thing, brown sugar makes the cookie. So for about an entire week I sat on the computer reviewing recipe, after recipe, after recipe... and I think I've found it! I've made these cookies a few times now, and every time I do my husband just sings their praises. I can't remember exactly where I found the recipe (I reviewed WAY too many), but I think it was from someone on Allrecipes.com. I love that site! Anyway, back to the whole point of this post... Let me share the recipe with you!


A-Mazing Chocolate Chip Cookies!
Makes 40 - 45 cookies

Ingredients

1 C (2 stks), Butter - softened
1/2 C, Sugar
1 1/2 C, Brown Sugar
2 Eggs
2 tsp, Vanilla
2 3/4 C, Flour
3/4 tsp, Sea Salt (not table salt!)
1 tsp, Baking Soda
1 1/2 tsp, Baking Powder
2 1/4 C, Chocolate Chips
1 C, Walnuts - chopped


** Apparently my head was not in this when I was taking the photo, because the eggs are missing, and I am showing 1 C sugar instead of a 1/2 C. Don't be like me... follow the ingredient list above!


Directions

Preheat oven to 350 


Cream butter and sugars on Med-High for 3 minutes, until light and fluffy.


Add eggs and vanilla, and beat an additional 2 minutes.


In seperate bowl, sift together flour, salt, baking soda, and baking powder. Add dry indredients to wet ingredients, 1 cup at a time, scraping the sides after each addition.


Gently mix in chocolate chips and walnuts.


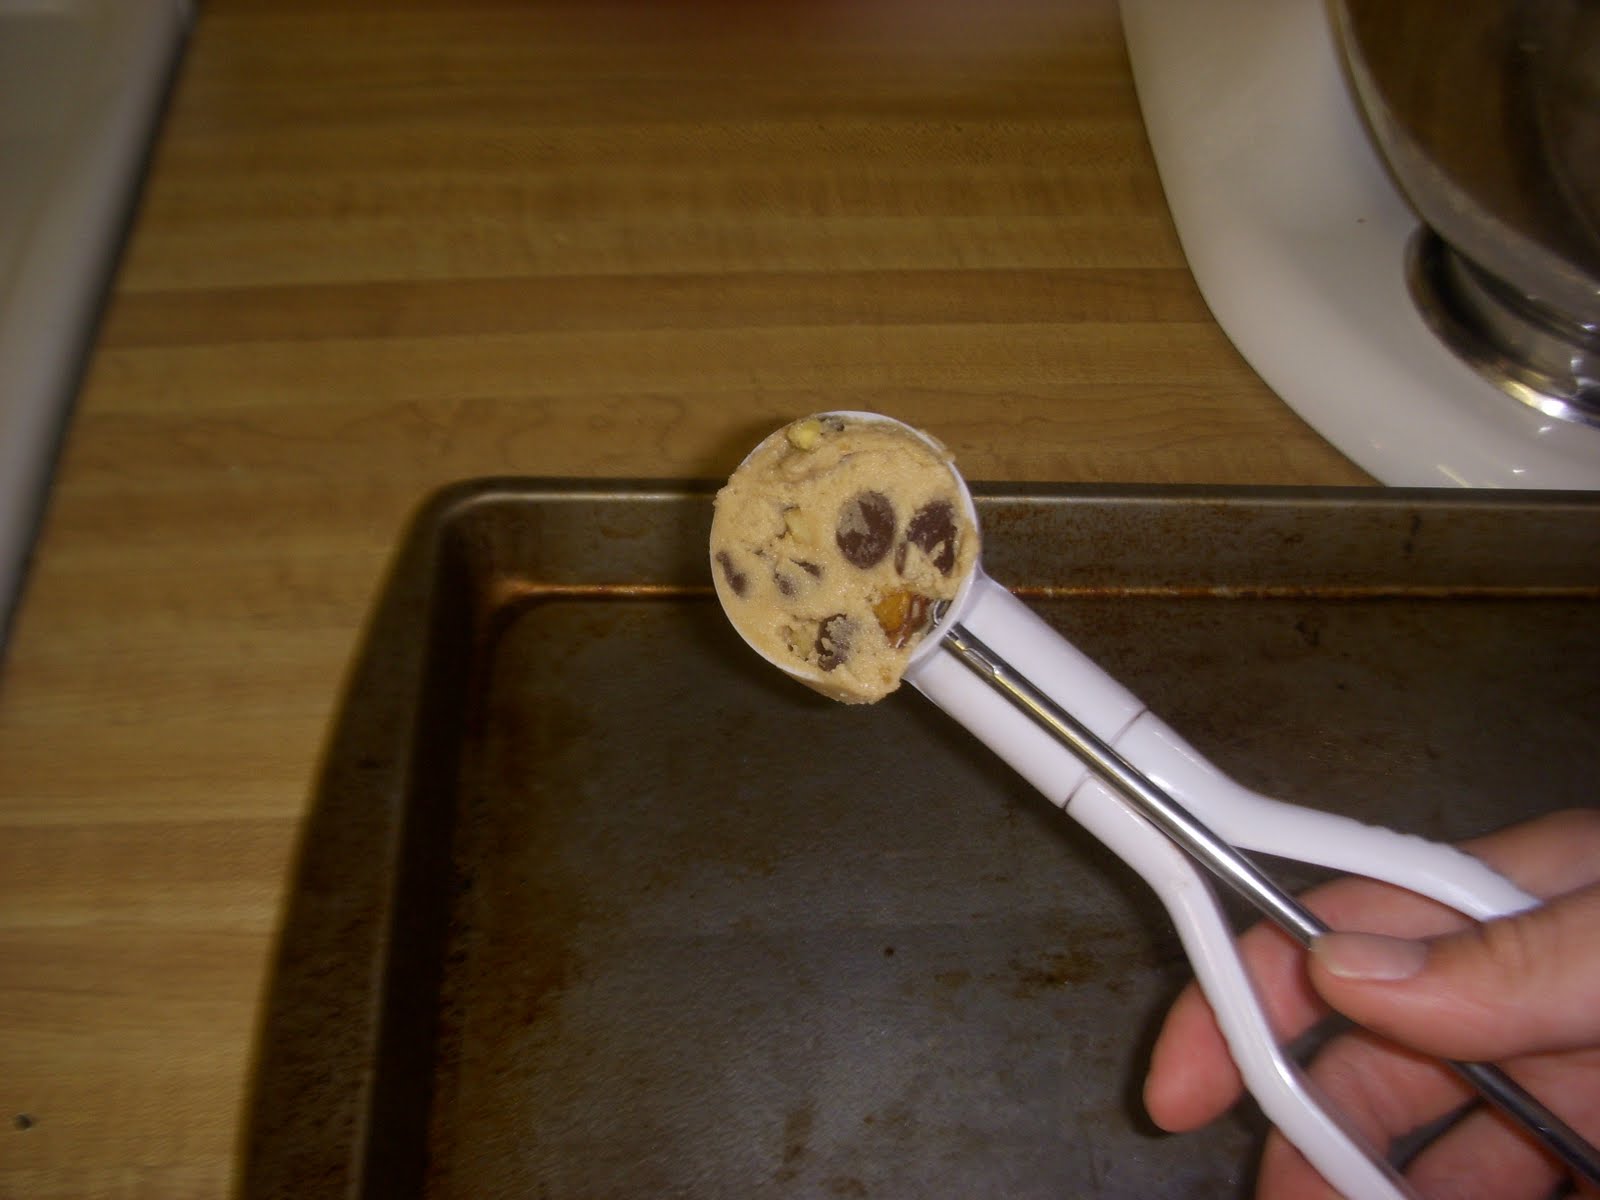
With a cookie scoop, or a Tablespoon, drop cookie dough onto a greased cookie sheet.


Cook 12 - 14 minutes


Let rest 2 minutes, then remove from pan and cool an additional 3 minutes.


Eat and Enjoy!

Tuesday, May 31, 2011

Crochet Flower Button Hole Cover Tutorial!!!

Welcome to my first Tutorial Tuesday!! Today I have a tutorial planned that goes perfectly with my "Oh So Sweet" Patchwork Dress tutorial, which you can find at Riley Blakes Cutting Corners HERE. Today's tutorial is a super easy Crochet Button Hole Cover, which just so happens to be in the shape of a flower. I designed this to compliment Riley Blake's Sweet Divinity fabric, which I used in creating my patchwork dress.

SO... Here goes!


Crochet Flower Button Hole Cover (Beginner +)

This crochet button hole cover is a cute way to jazz up any button hole, and create a darling flower for your button to nestle into. The pattern is relatively simple, working with the half-double crochet stitch, as well as simple chain and slip stitches. As long as you are able to work slowly, being able to grab the tiny threads, you will do fine and have beautiful crochet flowers in no time!

 Materials:

• 3mm (D) crochet hook

• Appropriate weight natural fiber thread
  • (I used a doily weight bamboo crochet thread, which called for a 1.5mm crochet hook, and doubled it up for extra thickness. ) As long as you use a 3mm crochet hook, any thread that can work on that hook is fine!
• Yarn needle

 Basic Key Terms:
  • Ch. = Chain
  • St. = Stitch
  • Sl st. = Slip Stitch (although I think I write this one out)
  • Hdc = Half-Double Crochet


Instructions:


Rnd 1: Ch. 10. Sl st into 1st ch. forming a circle.


Rnd 2: Ch. 4.  *Hdc into circle, ch. 2* Repeat from * 7 more times. (You should have a total of 8 hdc’s worked into the circle.) After completing your last ch.2, slip stitch into the top of the first hdc.

Rnd 3:  Work *5 hdc’s into the 1st ch. 2 space. Ch. 1. * Repeat from * 7 more times, working 5 hdc’s in each ch. 2 space around.  After working your last 5 hdc’s into the last ch. 2 space, slip st. into the same space.


Rnd 4: Ch. 1. *Work 6 hdc’s into the 3rd st. from hook (this will be the center st. of the lower “scallop” [5 hdc’s]).  Slip stitch into the ch. 1 space.* Repeat from *, working all the way around the circle.


Rnd 5:  After your final slip st. bind off and weave in ends.


Finishing:

  • Sew button cover around the opening of the button hole opening, right where the button will push through and sit.

  • Push the button through the button hole, and marvel at the adorable creation you have made.


Ta Da!!! You now have a darling flower button hole cover. Easy as pie!


Friday, May 27, 2011

Changes...

For those of you who stumble upon my blog on a semi-regular basis, you may be wondering why I keep posting about food. I admit that the first few posts were completely random, and based solely on what I happened to be excited about making that day, but today's food post was very deliberate, and is the start of new things to come for my blog. I have decided to create a "schedule" for my blog, so that you - my readers - may know what to expect from me, and when. So, with that said, Fridays will now be "Foodie Friday," and Tuesdays will be "Tutorial Tuesday." Foodie Fridays will highlight a recipe that I love, or stumbled upon and just couldn't resist; and Tutorial Tuesdays will highlight a tutorial - of some craft - either from my own head, or linking a tutorial that I found on the web. I know this is a BIG goal to have, taking on two days worth of ideas and blogging about them, but that's what I'm aiming for. I may fail miserably, and only have tutorials and recipes every other week, but I promise to try my best to get them on here weekly. So far I've got today's Foodie Friday done, and have something planned for this up coming Tutorial Tuesday, and hopefully they keep on coming. I'm keeping my fingers crossed! ;)
Till then... have a wonderful Memorial Day weekend!!


~ Alicia

The Perfect Spaghetti!!

Ok, so I know "The Perfect Spaghetti" is a rather big statement to make, and I realize that everyone's tastes might not run along with mine, but this IS the perfect spaghetti for my family. After years of searching for the right spaghetti recipe to suit my family's desires, I finally came up with my own, after picking and choosing what I liked from others out there on the web. Here's the dilemma I faced... I am a veggie girl, my husband is a plain meat sauce kind of guy, and we both prefer a thicker, more savory (none of the sugar stuff in this recipe) kind of spaghetti. What I came up with was a simple, tasty spaghetti, that even my 3 year old asks for all the time!

So, here it is...


What You Need:

1 pkg (1lb.) Italian Sausage (or 1 lb. from the butchers counter)
1 28 oz. can Crushed Tomatoes
1 28 oz. can Diced Tomatoes
1 Large Onion, finely diced
2 Green Bell Peppers, finely diced
1 pkg Mushrooms, finely diced
1 1/2 Tbsp Garlic, chopped (more if you desire)
1 1/2 Tbsp Oregano (more if you desire)
Salt and Pepper, to taste


Instructions:

1) Heat a large skillet over medium high heat, and drizzle around with evoo.

2) Remove sausage from casing (if you didn't purchase from the butcher), and throw it in the skillet. Break up the sausage with the back of a fork, so that it begins to resemble ground beef. Continue to break up the sausage as it browns.


3) Once the sausage is browned, put it into your slow cooker (if you don't have one, use a big pot)


4) Add your cans of tomatoes, veggies, garlic and oregano, and mix thoroughly.


5) Cover your slow cooker, and turn it to high.


6) Cook for 3 hrs, stirring occasionally.

7) Add salt and pepper to taste, stir to combine. Recover, turn heat to low, and cook an additional 2-3 hrs, or until ready to eat.

8) When ready to serve, brown up another package of Italian sausage to go on top, or make some Italian meatballs (I'll have to post my recipe for that later!). Cook spaghetti or fettuchini noodles, according to package directions. Put your drained noodles in a bowl, and spoon a healthy portion of spaghetti sauce over top, finishing off with your Italian sausage or meatballs. Round out your meal with "The Bread," recipe by, none other than, The Pioneer Woman. Pour yourself a nice glass of wine (I prefer Riesling), and ENJOY!

Sunday, May 15, 2011

Mmm...Mmm...Good!

So I'm posting about food again... Sorry! ;) BUT I just made the most amazing breakfast EVER this morning, and I just had to share. In my last post I made mention about a couple of my favorite food blogs, and like my last post, I am again singing the praises of the Pioneer Woman.

Last week I found a recipe for Lemon Blueberry Pancakes, and thought, "Oh my, those look good!" My husband is a BIG breakfast person, and I am not, so rarely does he get a good home cooked breakfast from me, however, when I saw these pancakes I knew I had to test them out, and treat my husband to a good morning meal. Now I'm not going to go on and on about how I prepared breakfast this morning, but I will say that these pancakes are AMAZING. So... with that said, I highly suggest that you treat yourself, your significant other, or anyone else you happen to know, and try these pancakes for yourself the next time you make breakfast. You can find the recipe at the Pioneer Woman website by clicking HERE.


Happy Eating!